How to Build a DIY Wedding Rental Order (Without Losing Your Mind)
Planning a private property wedding? Here’s your no-nonsense guide to getting the rentals right.
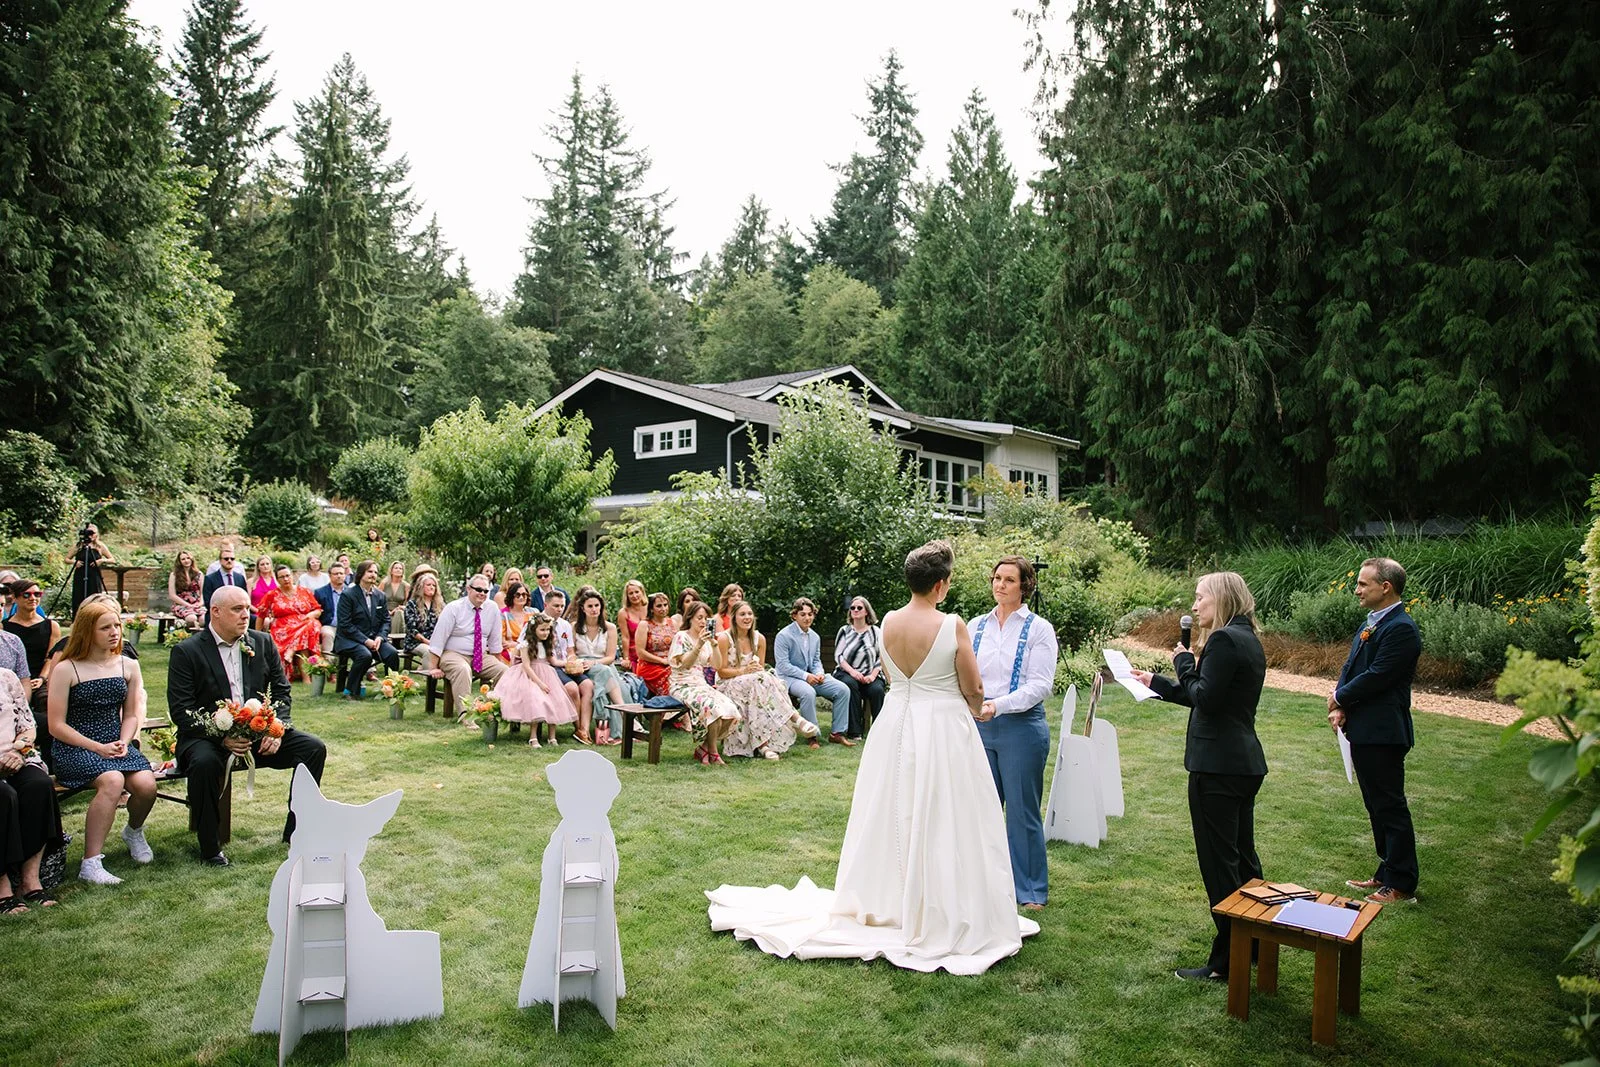
So you’re planning a DIY wedding on private property. First of all: congratulations! And also… good luck. You're basically building a mini village for a day—and that means everything needs to be brought in.
This includes the things you expect (tables, chairs) and a whole bunch of things you probably haven’t thought about yet (DJ tables, dessert displays, enough power for your bartenders and your band, and a solid floor plan that shows exactly where it all goes).
Let’s walk through how to put together your rental order step by step—because if you miss one key element, it could throw off the whole day.

Start With the Basics: What Needs to Exist for a Wedding to Happen?
At a minimum, you need:
A place to get married (ceremony site)
A place to eat and dance (reception site)
Somewhere to sit (chairs)
Something to eat off (tables, linens, plates, utensils)
Something to drink out of (glassware)
Bathrooms. Please don’t forget the bathrooms.
If you're doing all of this on private property (like a backyard, field, or family cabin), assume that nothing is provided. You’ll need to rent it, borrow it, or buy it. Which means figuring out where budget is getting allocated.


Think in Zones
Breaking your wedding into zones helps you stay organized. Each one has different rental needs:
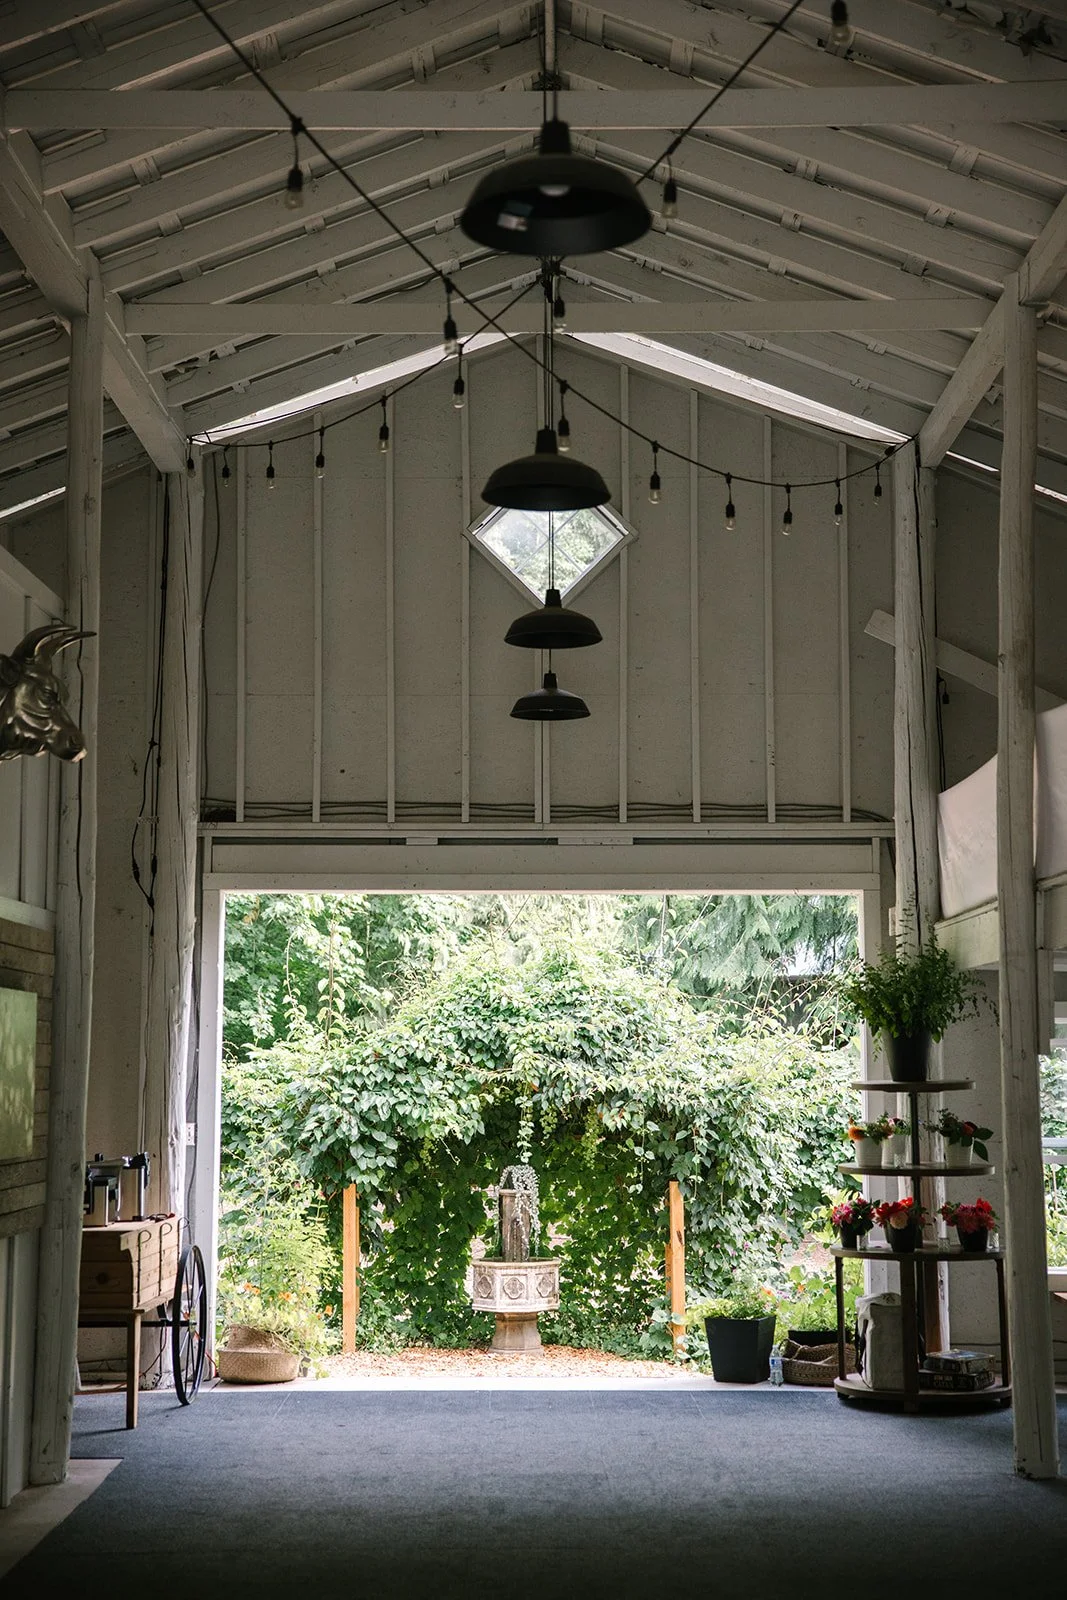
Ceremony Zone
Guest chairs
Arbor or backdrop (optional)
Sound system (mic, speaker)
Power (for DJ or musician)
Table for DJ/sound person
Shade or rain cover (tent, umbrellas)
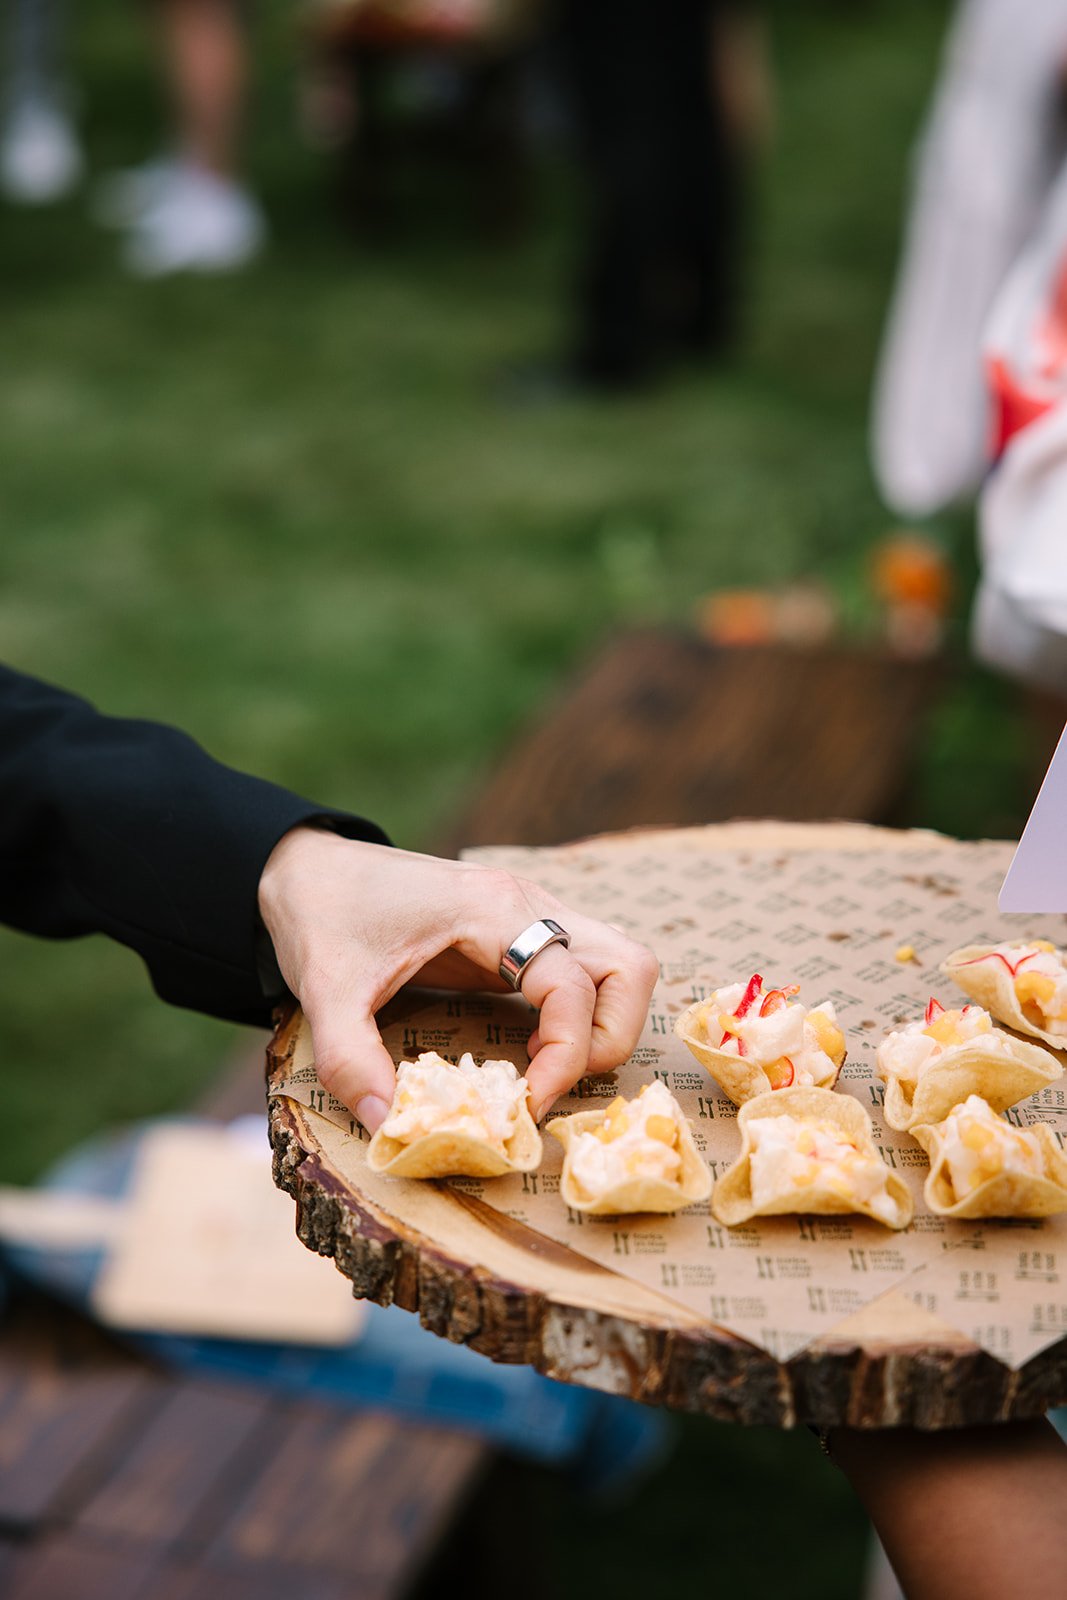
Reception Zone
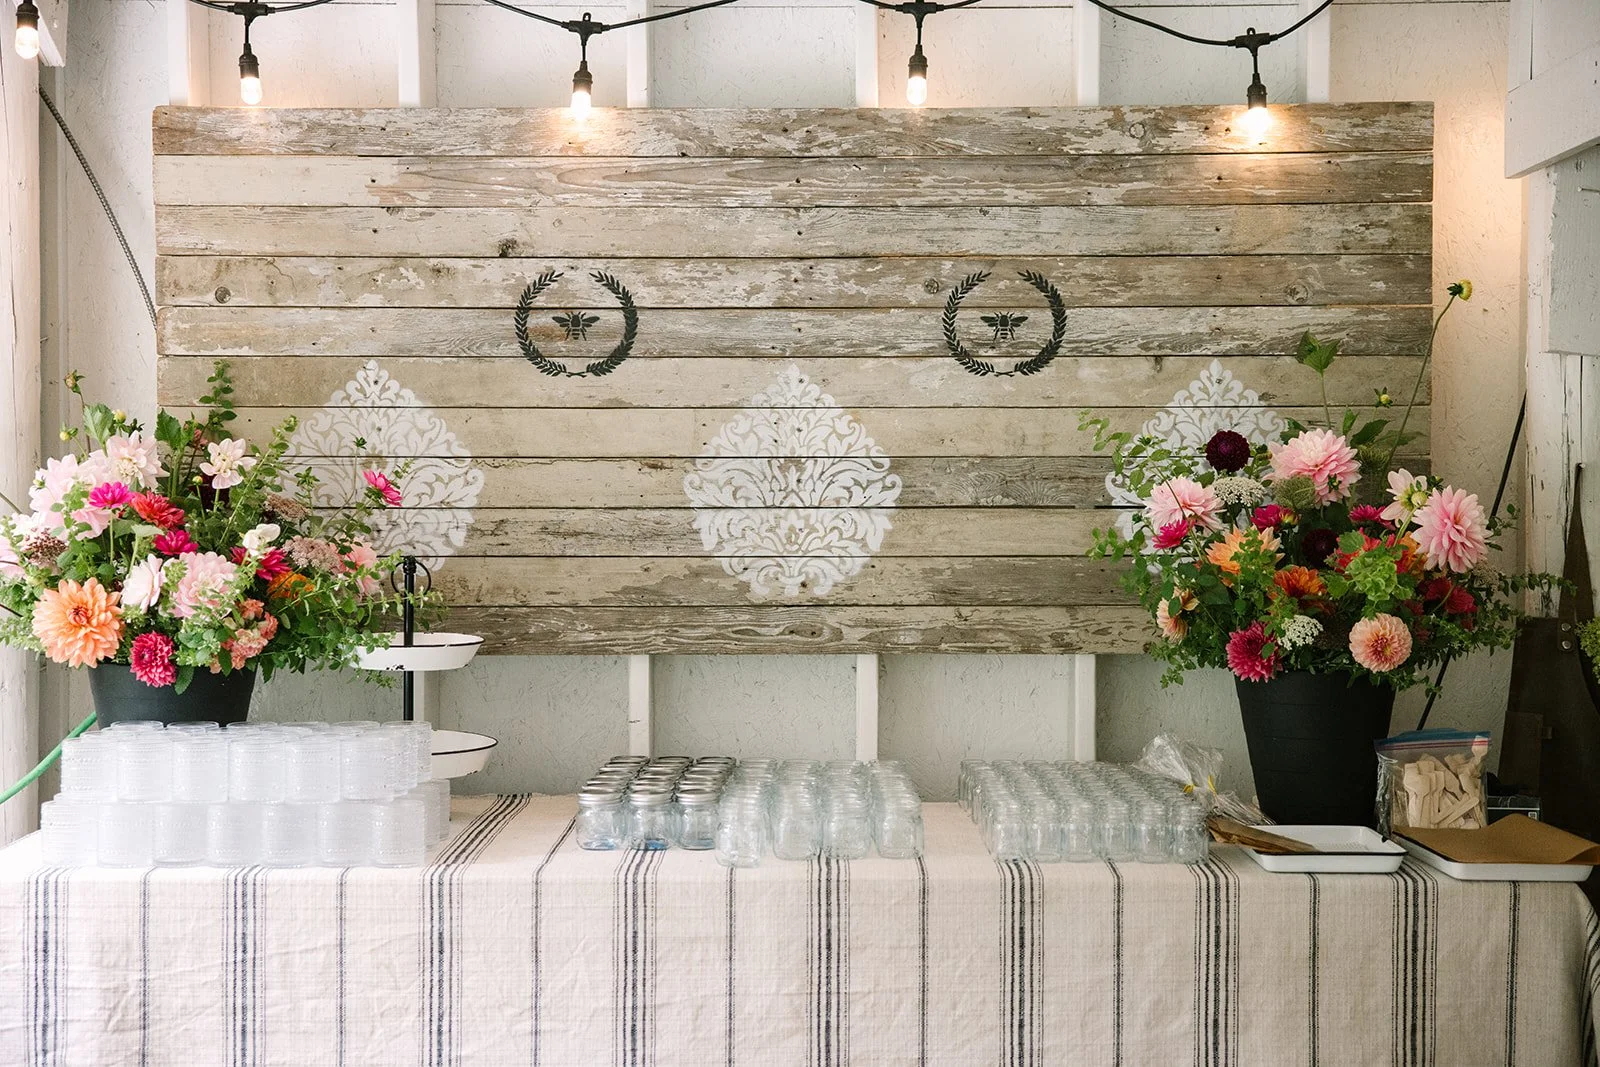
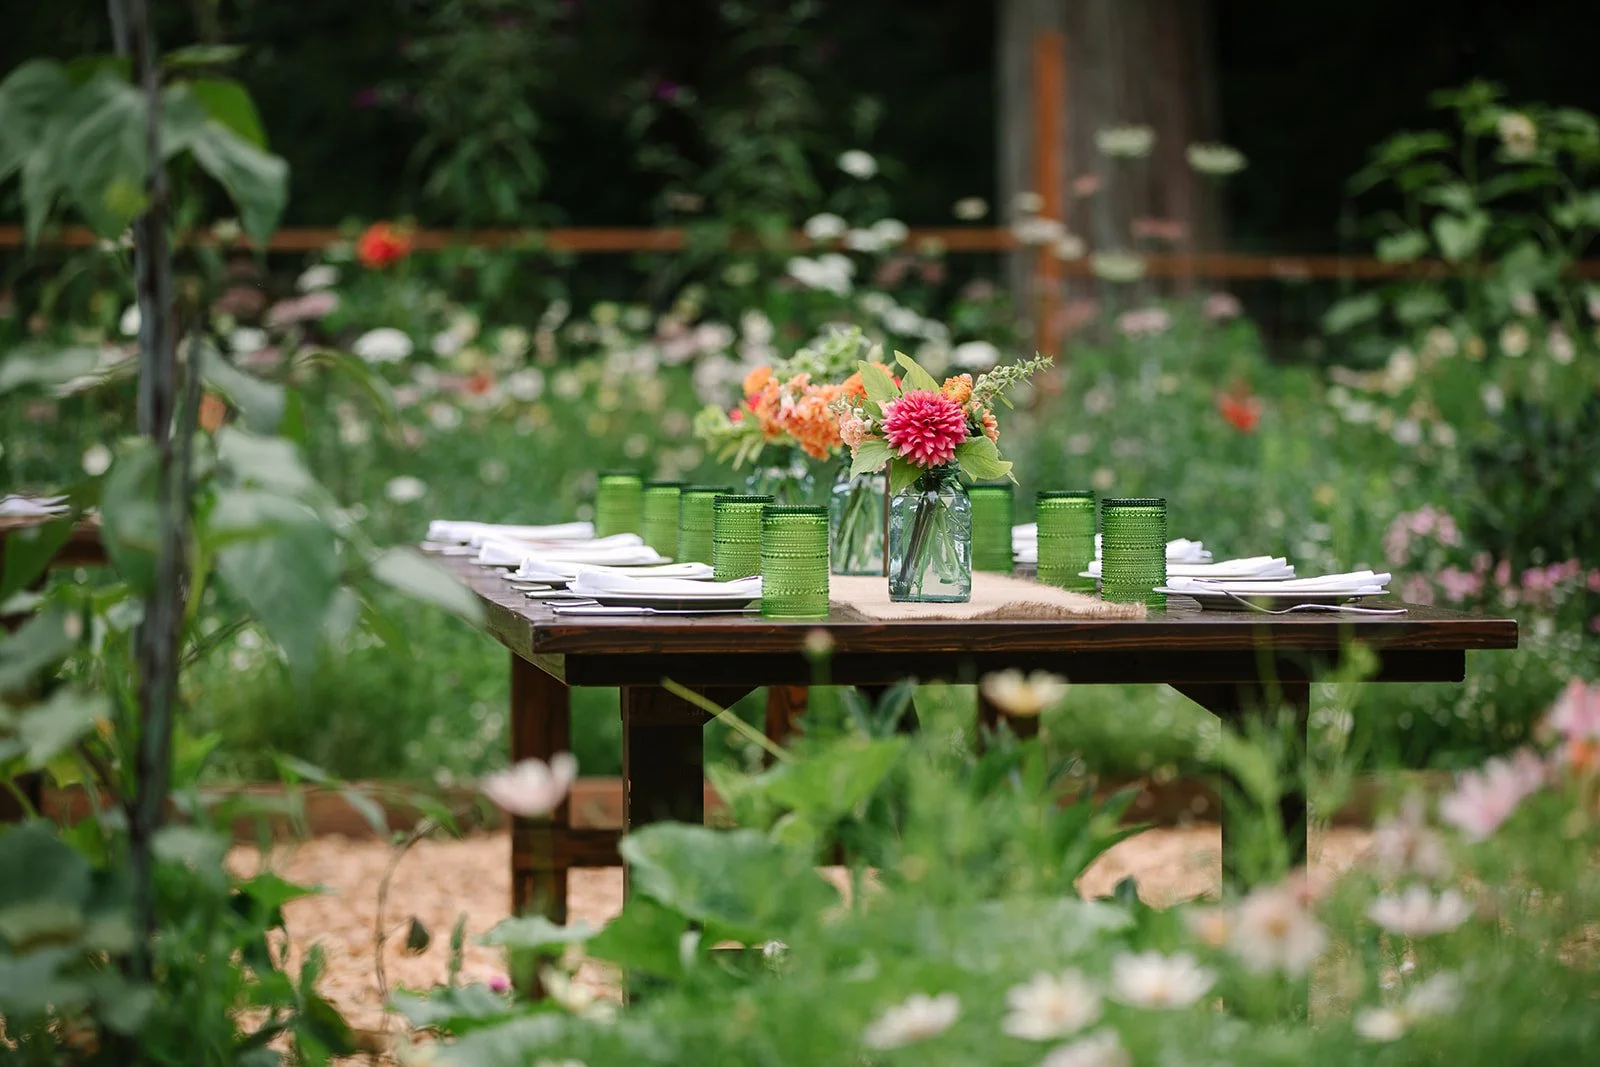
Guest tables and chairs
Linens (tablecloths, napkins, runners)
Place settings (plates, forks, knives, spoons, water glasses, wine glasses, etc.)
Buffet or catering tables
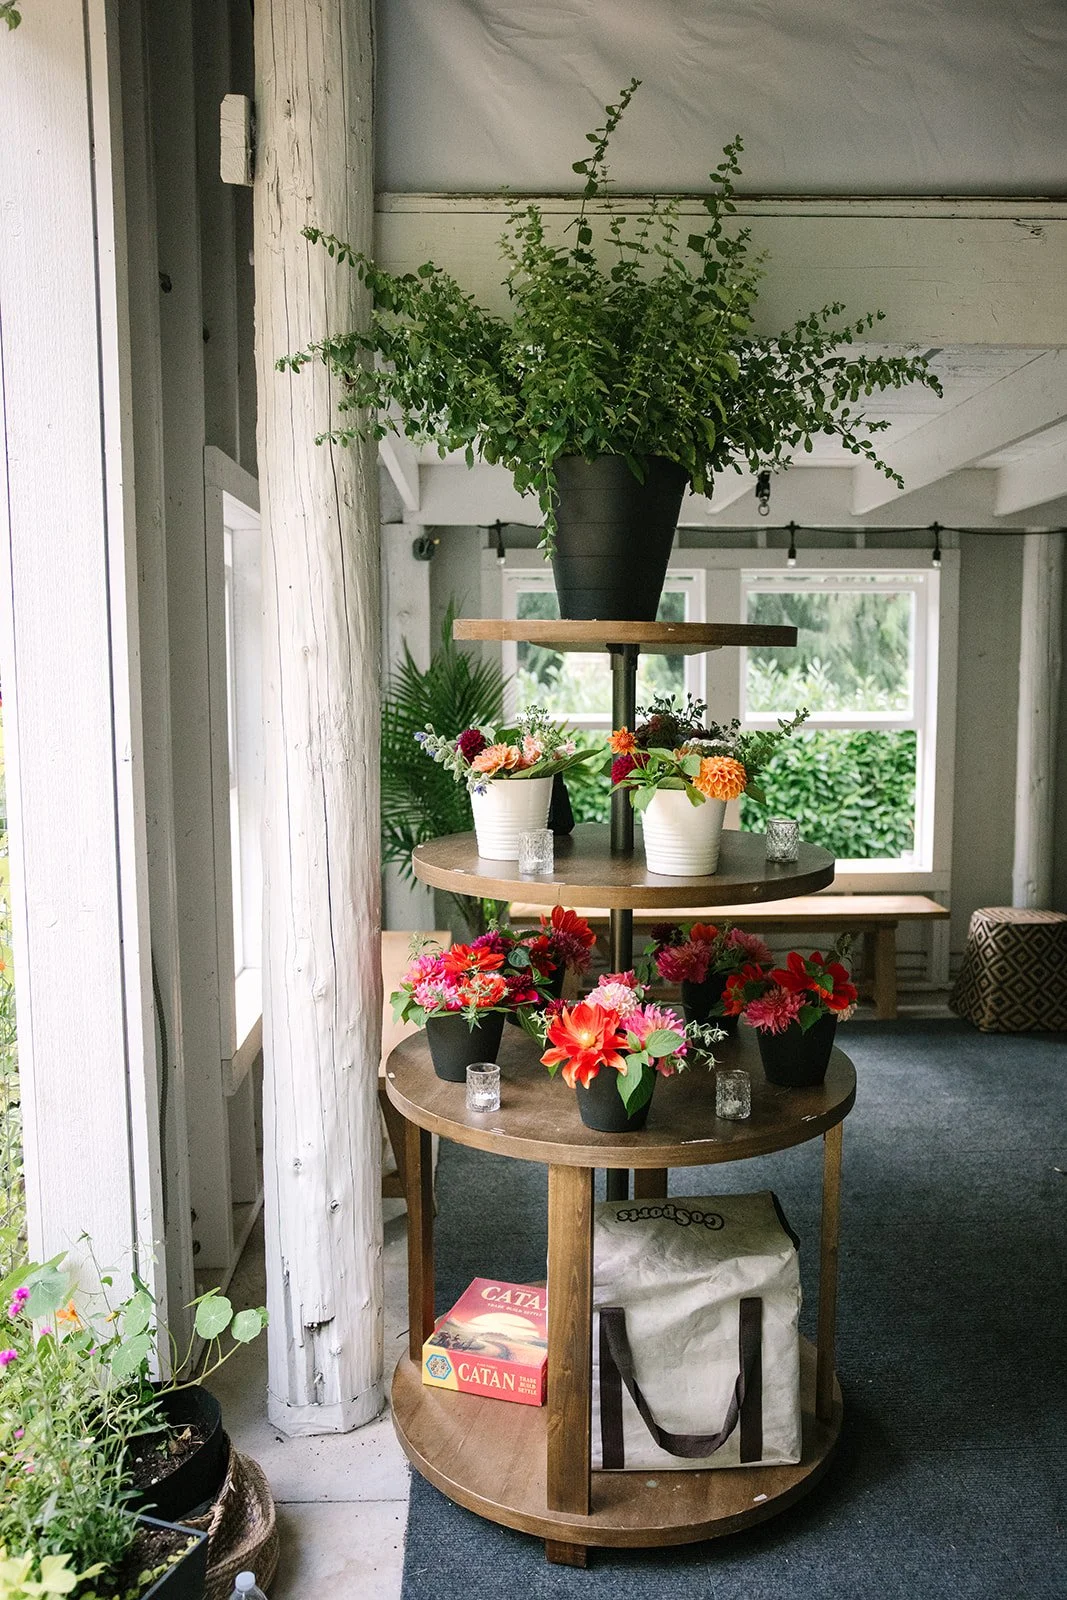
Display tables for:
Dessert
Gifts
Guestbook
Late-night snacks or activities (photo booth, favors, games)
DJ table and power source
Dance floor
Trash and recycling stations
Lighting (especially if your party goes past sunset)
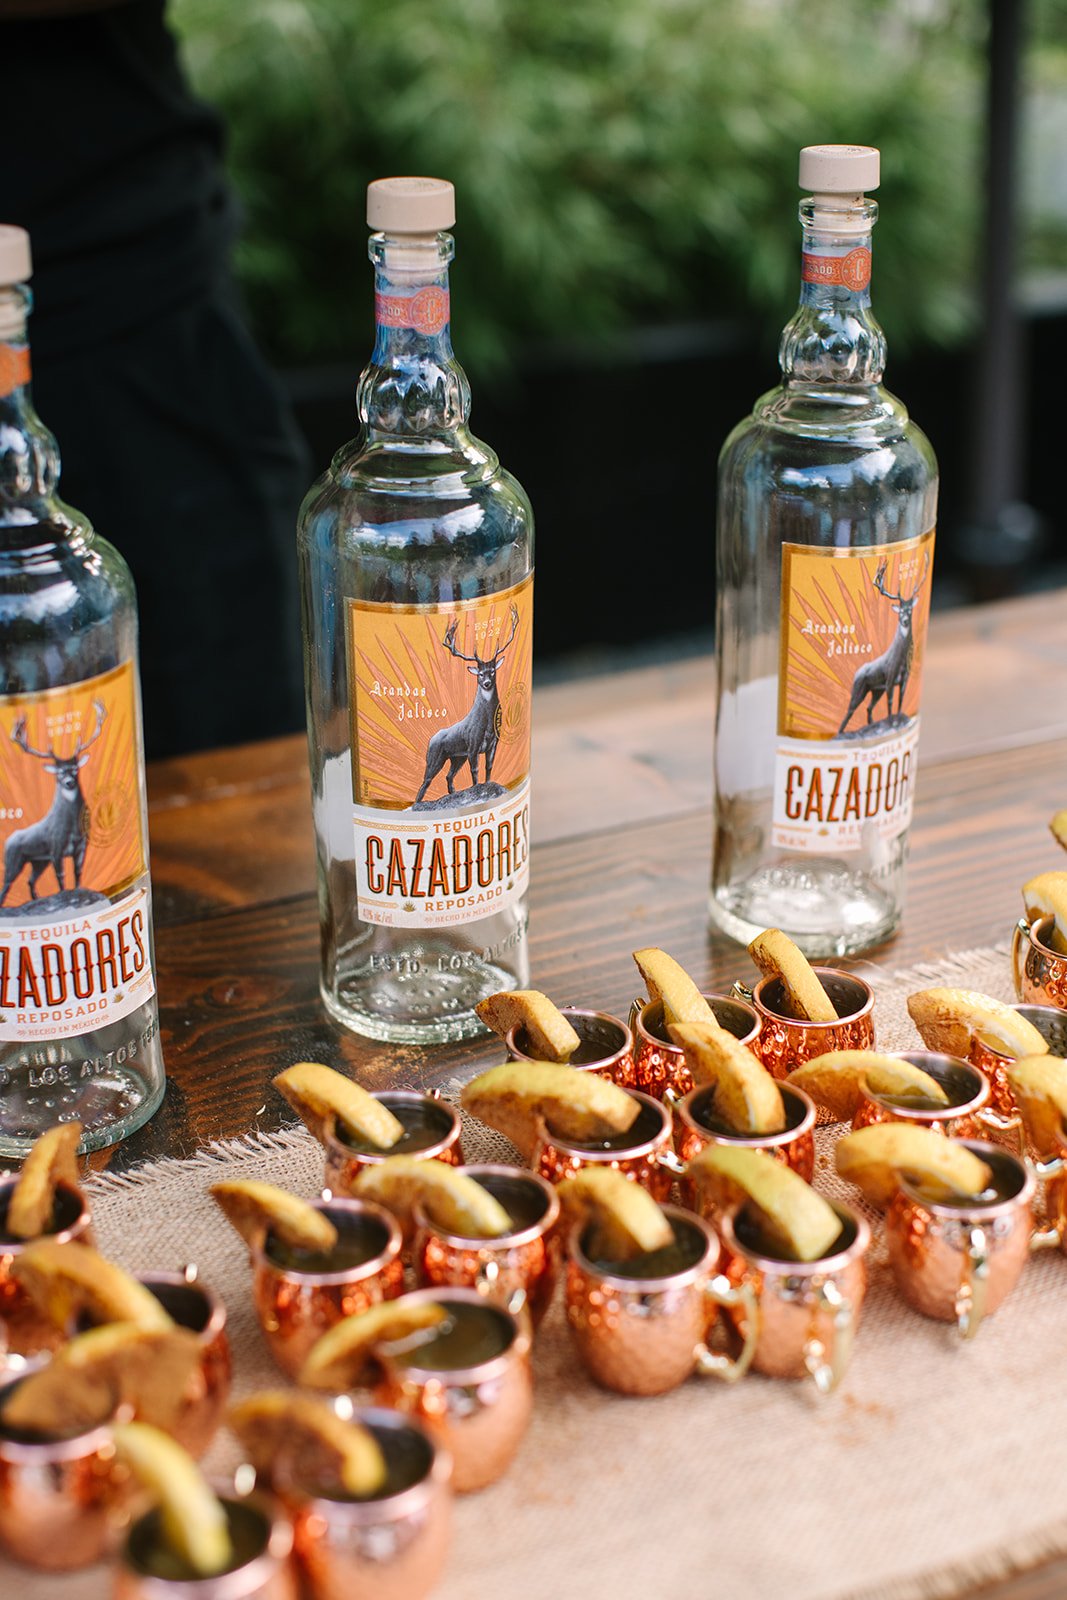
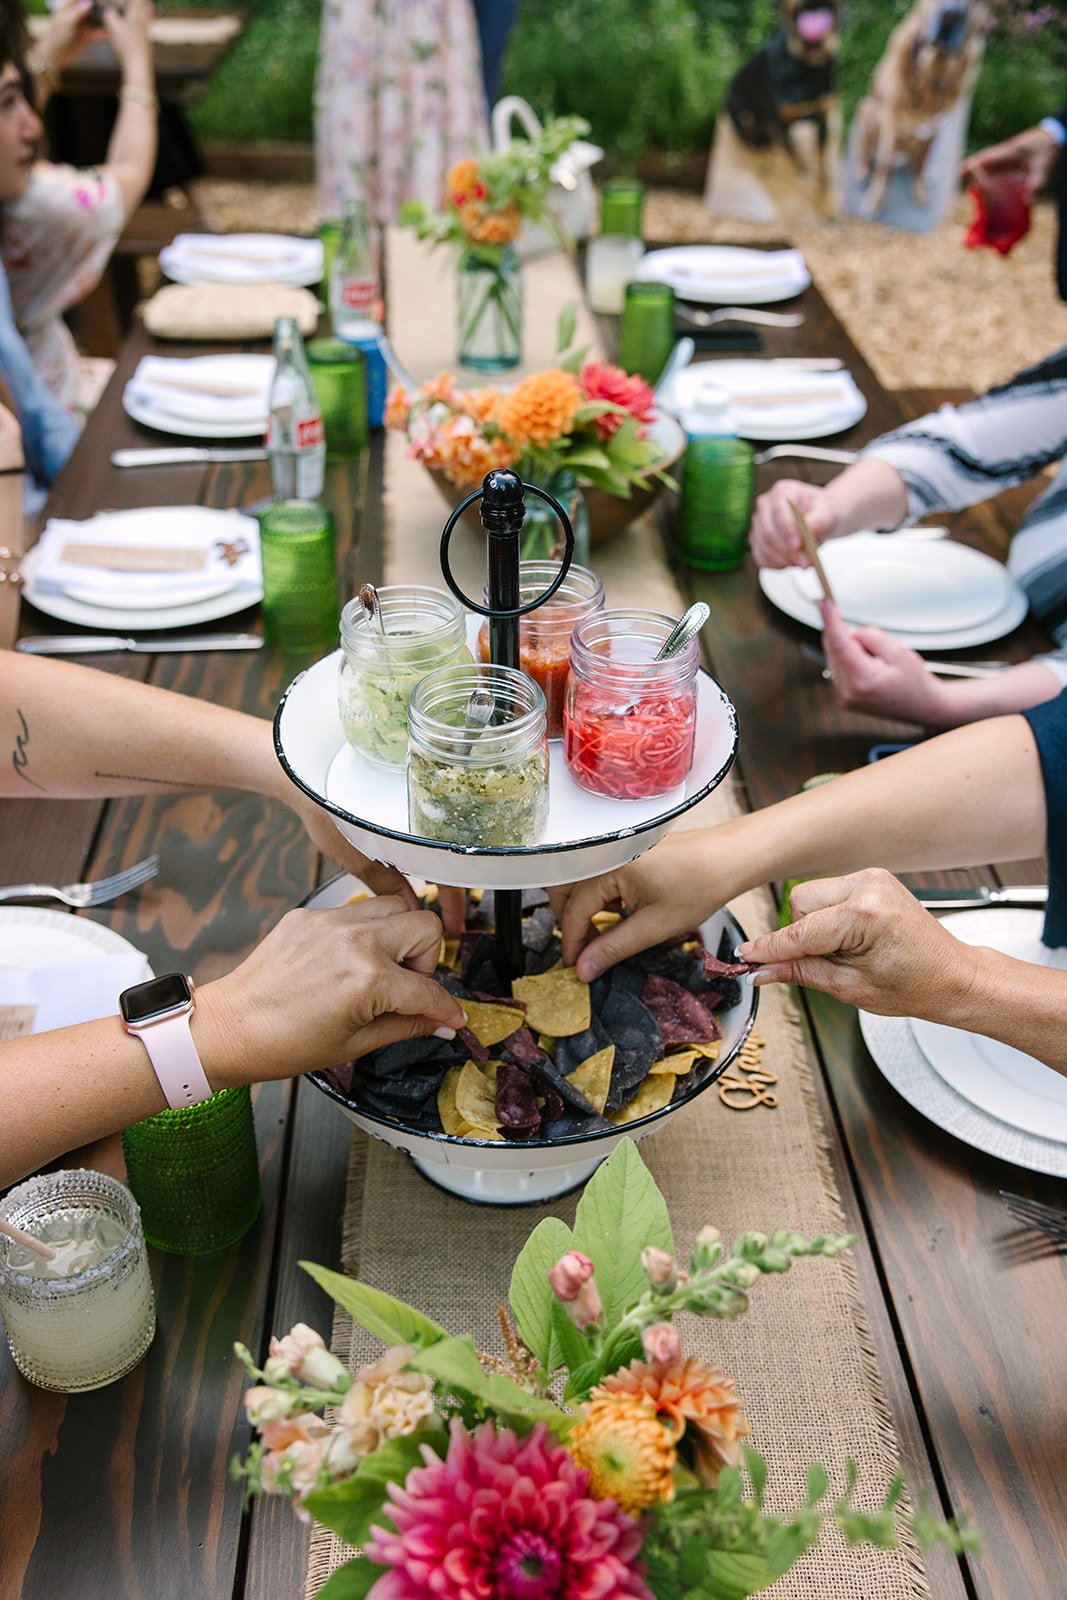
Bar Zone
Bar tables or bars
Ice bins or coolers
Glassware (or compostable cups)
Cocktail napkins
Trash/recycling bins
Tent or umbrella for cover
Catering Prep Area (Field Kitchen)
Prep tables
Cooking equipment (confirm needs with your caterer)
Hand-washing station
Tent + lighting
Trash cans
Power (or generator)
Water access (or workaround)
Ask Your Vendors What They Need—Then Plan Around That
You are the general contractor of this wedding. That means asking your vendors what they need to do their jobs well.
Start with caterers, bartenders, and DJs:
Caterer: Do they need a tented prep area? Cooking equipment? Power? Tables? Trash cans?
Bartender: Do they bring ice, or do you need to provide it? What kind of bar setup do they prefer?
DJ/musicians: Do they need a table? One for the ceremony and one for the reception? How much power? Protection from weather?
Don't guess—get the specs from them and build around that.


Power, Climate, and Lighting: The Infrastructure That Holds It All Together
Private properties often don’t have enough power for a full wedding. You’ll probably need one or more generators—and it’s crucial to match generator capacity to your actual needs. (Your DJ and your lighting can’t be on the same circuit as your ice machine.)
Other things to consider:
Lighting: Tent lights, path lighting, parking lot lighting, and prep space lights
Heaters or fans: If your wedding’s in a colder month or a scorching one, rent:
Patio heaters (and extra propane!)
Portable fans or evaporative coolers
Tent A/C or heaters for enclosed spaces
Remember, comfort is key—your guests won’t notice the centerpieces if they’re sweating through their clothes or shivering through dinner.
The Rain Plan Needs to Be a Real Plan
If you're getting married in a climate where rain is possible, it's not enough to hope for the best. You need a rain plan that’s ready to activate. That means:
A tent large enough to accommodate all your guests seated and dancing
Side walls for the tent (wind + rain = sideways soaking)
Subflooring or floor coverings (nobody wants to dance in mud)
Covered walkways for guests, vendors, and staff
Tents or covers for bar, catering, and bathrooms
Rain covers for all power equipment and cords
Pro tip: Rent the tents in advance. Most companies allow you to cancel up to a few days before if the forecast is dry.

You’re the Planner Now—That Means Floor Plans Matter
DIY planning means you’re responsible for designing the layout of your entire wedding site: ceremony, dinner, dancing, vendor zones, restrooms, and more.
Your rental order will need to match that floor plan exactly. That means knowing:
How many tables fit in the tent?
Where the power sources go?
Where guests will enter, flow, and exit?
How far the bathrooms are from the reception (and if they’re accessible)?
Use planning tools like Merri or Prismm to map everything out. They let you:
Visualize table layouts
Add custom areas (like photo booths or mobile bars)
Share with your rental company and vendors
This one step can prevent dozens of day-of questions.
Need help building your exact rental list? Drop your guest count, menu style, and property details—we’ll help you sketch it out in a Wedding Planning Power Hour.
Create a Master Rental List
Here's a detailed starting checklist. Adjust based on your wedding size and setup:
Guest Essentials
[ ] Guest tables and chairs
[ ] Linens (tablecloths, napkins)
[ ] Place settings (plates, flatware, napkins, glasses)
[ ] Chargers (optional but pretty)
[ ] Cocktail tables and barstools
[ ] Trash and recycling stations
Extra Tables & Displays
[ ] Dessert table(s)
[ ] Gift table
[ ] Guestbook or welcome table
[ ] Favor display
[ ] Photo booth or activity station tables
[ ] DJ/musician tables (ceremony and reception)
Bar
[ ] Bar table or structure
[ ] Glassware or cups
[ ] Ice bins or coolers
[ ] Cocktail napkins
[ ] Trash/recycling
Kitchen & Catering
[ ] Prep tables
[ ] Cooking equipment (if needed)
[ ] Tent + lighting
[ ] Hand-washing station
[ ] Trash bins
[ ] Power source or generator
Infrastructure
[ ] Ceremony chairs
[ ] Arbor or altar
[ ] Dance floor
[ ] Tents (reception, ceremony, bar, kitchen)
[ ] Tent sides (rain plan)
[ ] Tent heaters or fans (season/weather dependent)
[ ] Path lighting
[ ] Bathroom trailer or portable toilets
[ ] Power distribution (generators, extension cords, power strips)
[ ] Subflooring or tent flooring (if needed)


Final Thoughts: Pad the Plan, Assign a Point Person, and Stay Flexible
Pad your timeline: Have rentals arrive 1–2 days before if possible.
Assign a point person (not you!) for delivery day to direct setup.
Label your floor plan clearly—every table and tent should have a home.
Keep one extra table and 6–10 chairs on hand. They will get used.
Planning a DIY private-property wedding is part dream, part logistics boot camp. But if you build a smart rental order, get real about your rain plan, and know where everything is going before it gets there? You’ll be in great shape.
Plan Like a Pro
Feeling overwhelmed by your rental list or floor plan? You don’t have to figure it all out alone.
Book a Wedding Planning Power Hour with us and get expert eyes on your rental order and layout. In just 60 minutes, we’ll:
Review your floor plans (or help you build one)
Identify gaps in your rental order
Flag vendor needs you might not have considered
Give you peace of mind (and a strategy!)
It’s planning support when you need it—no big commitment required. Just smart, actionable advice from people who’ve done this hundreds of times.
Schedule your Power Hour and plan like a pro.