
How to Write a Wedding Day Timeline (When You’re DIY-ing the Planning)
If you’re planning your own wedding, the phrase “We’ll just figure out the timeline later” can seem harmless. Until “later” turns into a tangled spreadsheet of ceremony cues, vendor arrival times, dinner service, and Aunt Linda’s toast that somehow lasts 12 minutes.
A well-crafted wedding day timeline isn’t just a schedule. It’s the invisible structure that makes your day feel effortless instead of chaotic. Professional planners spend hours — sometimes days — perfecting timelines because they know that 15 minutes too much here or 10 minutes too little there can snowball into stress.
If you’re DIY planning for budget reasons, you can absolutely build a solid timeline on your own. This guide will give you the advanced basics — the strategic thinking we use as planners, distilled into steps you can follow.
That said, even the best DIY efforts can’t replace the eyes of a seasoned planner. If you want professional insight without the cost of full-service planning, our Wedding Planning Power Hour gives you focused, one-on-one help with your timeline so you can be confident it will actually work on the day.
1. Start With Your Ceremony & Reception Times
Why it matters:
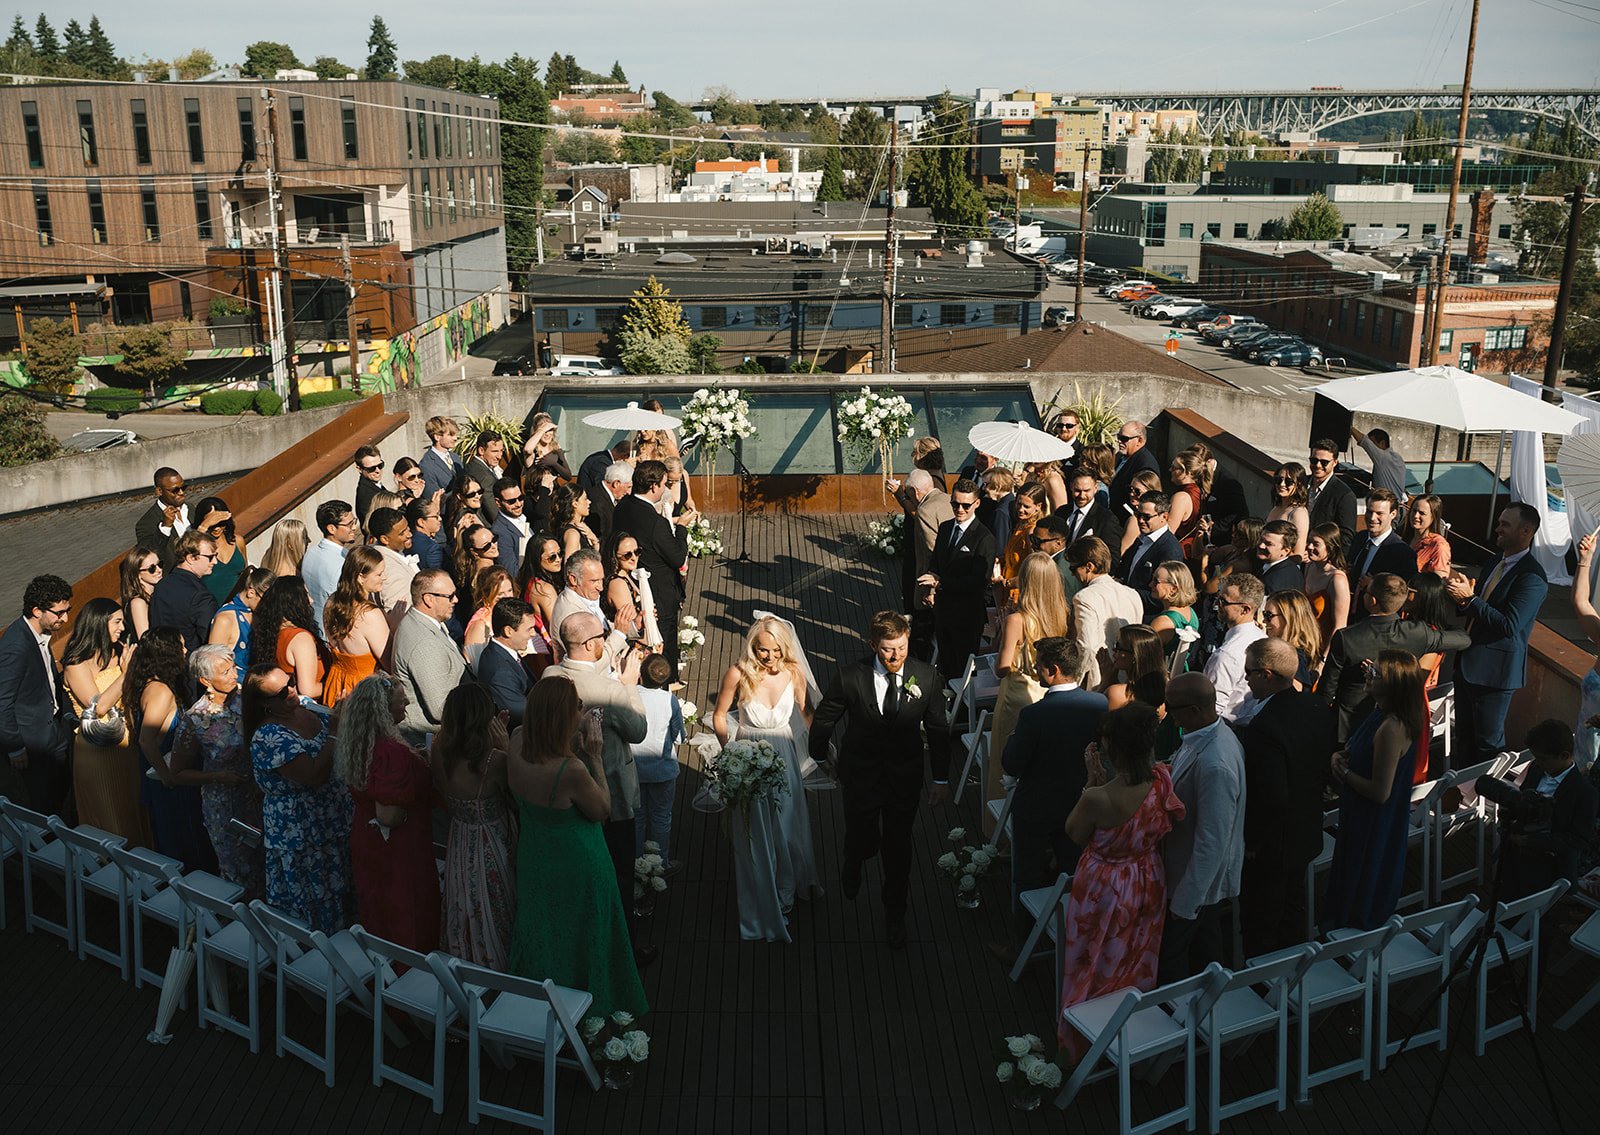
Your ceremony start time is the anchor for your entire wedding day. Every other decision — hair and makeup, first look, guest arrival, dinner service — flows from this moment. Choosing the right time is about more than just what feels right; it’s about light, logistics, and guest comfort.
Strategic factors to consider:
Seasonal daylight: Sunset time impacts photography. A summer wedding might start later to capture golden hour, while a winter wedding may need an earlier start.
Venue rules: Noise ordinances or rental time windows can limit your options.
Guest flow: Avoid leaving guests with long gaps between ceremony and reception unless you have an intentional plan for that time.
Steps to take:
Look up the sunset time for your date and location.
Decide whether you want golden hour photos before or after the ceremony.
Ask your venue about any restrictions on start or end times.
Choose a ceremony start time that balances these factors.
2. Factor In Travel & Transition Time
Why it matters:
Google Maps might say “10 minutes,” but wedding day travel is never just 10 minutes. Parking, unloading, navigating a new location, and moving large groups all take longer. Underestimating this is one of the most common DIY mistakes.
Strategic factors to consider:
Guests typically take 10–15 minutes longer than anticipated to park and get settled.
Vendors with equipment may need extra unloading and setup time.
If you have separate ceremony and reception venues, double travel estimates and consider traffic patterns.
Steps to take:
Time the route yourself at the same day and time of week.
Add at least 15 minutes for guests to park, find their seats, and settle in.
For vendors, add extra time for unloading and equipment setup.
Build in a transition activity for guests if there’s a gap (cocktail hour, shuttle, nearby cafe).
3. Build Around Vendor Needs
Why it matters:
Your vendors are your execution team — and they need clear windows to do their work. A florist can’t set centerpieces during dinner service, and a DJ can’t set up while the ceremony is happening in the same space.
Strategic factors to consider:
Vendors often have minimum setup windows that might be longer than you expect.
“Flips” (when a ceremony space becomes the reception space) require careful choreography.
Strike (breakdown) times can impact your cleanup crew and venue rental end time.
Steps to take:
Ask each vendor for their ideal arrival, setup, and breakdown times.
Note any dependencies (e.g., the florist can’t set centerpieces until tables are in place).
For flips, create a clear guest diversion plan (cocktail hour, photo booth, lawn games).
Share your draft timeline with vendors early to confirm feasibility.
4. Estimate Segment Lengths (With Pro Benchmarks)
Why it matters:
If you guess at how long things take, you’ll either rush through important moments or leave awkward dead space. Wedding day pacing is both an art and a science.
Strategic benchmarks:
Segment Typical Duration
Hair & Makeup (per person) 30–45 min hair, 45-60 min makeup
Ceremony 20–30 min (60-75 min for religious traditions)
Cocktail Hour 60 min (75 if photos are involved)
Dinner Service 60–90 min depending on courses
Toasts 15–30 min (3–5 min per speaker)
Dancing 2–3 hrs for most crowds
Steps to take:
List all segments of your day in order.
Use the benchmarks above as a starting point.
Adjust based on your personal priorities (e.g., extra time for cultural traditions).
Confirm with vendors who control the pace (caterer, officiant, band/DJ).
5. Add Buffer Time (But Not Too Much)
Why it matters:
A timeline without buffer is a recipe for stress. But too much buffer can make the day feel disjointed or draggy. The sweet spot is adding just enough to absorb small delays without creating big lulls.
Strategic factors to consider:
High-risk segments like hair/makeup and travel benefit from 10–15% extra time.
Low-risk, tightly scripted moments (like a first dance) can run on the original plan.
Buffer should feel invisible to guests — not like “waiting around” time.
Steps to take:
Identify high-risk segments in your draft timeline.
Add 10–15% extra time to those segments.
Avoid inserting buffers right before major guest-facing moments (to prevent long idle gaps).
Keep buffers behind the scenes — in prep time, vendor arrival windows, or between photo groups
6. Consider Group Logistics
Why it matters:
Moving groups takes exponentially longer than moving individuals. The larger the group, the slower the process. This applies to hair/makeup schedules, family photos, and even seating guests.
Strategic factors to consider:
Multiple hair/makeup artists can work in parallel to save time.
Family photo lists should be realistic and prioritized.
Guest seating before the ceremony can take 15–20 minutes even for small weddings.
Steps to take:
For hair/makeup, multiply per-person times by your total number of people — then see if you need extra artists.
Make a prioritized family photo list (must-have shots first).
Plan to start seating guests 20 minutes before the ceremony.
7. Decide What to Include in the Timeline
Why it matters:
Too much detail overwhelms people; too little leaves room for mistakes. You’ll likely need two versions of your timeline — one for vendors and one for wedding party/family.
Strategic factors to consider:
Vendors need all arrival/departure and setup/strike times.
Guests and family need only guest-facing event times and key prep moments.
Overloading your timeline makes it harder for people to find the info they need.
Steps to take:
Create a detailed vendor timeline with every logistical detail.
Create a simplified wedding party/family timeline with only relevant moments.
Use consistent formatting so times are easy to find at a glance.
Real-Life Timeline Examples
Here’s how the principles above come together in practice.
Morning Ceremony Timeline (10:30 AM start)
6:00 AM – Hair & makeup begins (multiple artists for efficiency)
8:00 AM – Photographer arrives for details & getting ready shots
9:30 AM – First look & couple portraits
10:00 AM – Guests begin seating
10:30 AM – Ceremony (30 mins)
11:00 AM – Post-ceremony family photos
11:30 AM – Brunch reception begins
12:00 PM – Toasts & brunch service
1:30 PM – Cake cutting & coffee service
2:00 PM – Dancing begins
3:30 PM – Reception ends / vendor strike
Afternoon Ceremony Timeline (3:00 PM start)
9:00 AM – Hair & makeup begins
12:00 PM – Photographer arrives, detail shots, getting ready
1:30 PM – First look & couple portraits
2:30 PM – Guests begin seating
3:00 PM – Ceremony (30 mins)
3:30 PM – Cocktail hour & family photos
4:30 PM – Guests seated for dinner
4:45 PM – Grand entrance & first dance
5:00 PM – Dinner service begins
6:15 PM – Toasts & cake cutting
7:00 PM – Open dancing
9:30 PM – Last dance
10:00 PM – Reception ends / vendor strike
Evening Ceremony Timeline (6:00 PM start)
12:00 PM – Hair & makeup begins
3:00 PM – Photographer arrives, getting ready shots
4:30 PM – First look & portraits
5:30 PM – Guests begin seating
6:00 PM – Ceremony (20–25 mins)
6:30 PM – Sunset cocktail hour & family photos
7:30 PM – Guests seated for dinner
7:45 PM – Grand entrance & toasts
8:15 PM – Dinner service
9:15 PM – Cake cutting & first dance
9:30 PM – Open dancing
11:30 PM – Last dance
12:00 AM – Reception ends / vendor strike
Why a Professional Review Can Save Your Day
Even with a strong DIY effort, planners bring a depth of experience that can prevent headaches you don’t even see coming:
Knowing how your specific vendors operate and adjusting accordingly.
Anticipating bottlenecks in guest flow.
Balancing pacing so the day feels natural, not rushed or stagnant.
That’s exactly what our Wedding Planning Power Hour is for. In just 60 minutes, we can:
Review your draft timeline and flag problem areas
Build a professional, vendor-ready version from scratch
Provide a clean, easy-to-share final document for family, vendors, and your wedding party
It’s the confidence boost that turns “I think this will work” into “I know this will work.”
💡 More Help for DIY Couples: Explore our other guides and resources at www.tapestryeventco.com to keep your planning process smooth from start to finish.
